Materials Needed:
Soft Fabric or Clothes (you wish to upcycle)
Fabric Pins
Marker or Pencil
Scissors
Sewing Machine (or needle and thread to hand sew)
****You can use fabric glue but not recommended
Fabric tape (optional)
SPA GLOVES DIY
1. Grab whatever soft fabric you have and place it inside out. If you are using two separate pieces of fabric make sure the piece on the bottom is facing right side up and the piece on the top is facing right side down. (Make sure you have one piece of fabric on top of the other.)
2. Place one hand down on the fabric and trace around it. You want to over draw around your hand at least 1/4 inch of space. This will be your pattern for both gloves.
3. Use fabric pins to hold each piece of fabric together. Then cut out the pattern.
4. Use your cut pattern to create your second glove pattern. (repeat step 3) You should have four pieces in total.
Assembly
5. (If you are using fabric that doesn’t unravel you can skip to step 3.) Now that you have two pieces of fabric pinned together, take the wrist portion of the fabric separate it and fold it up about 1/8-1/4 of an inch on both sides then pin.
6. Sew a straight line across each wrist portion of the pattern then pin both pieces together.
7. Sew all around the perimeter of each glove.
8. Lastly, turn the gloves right side out.
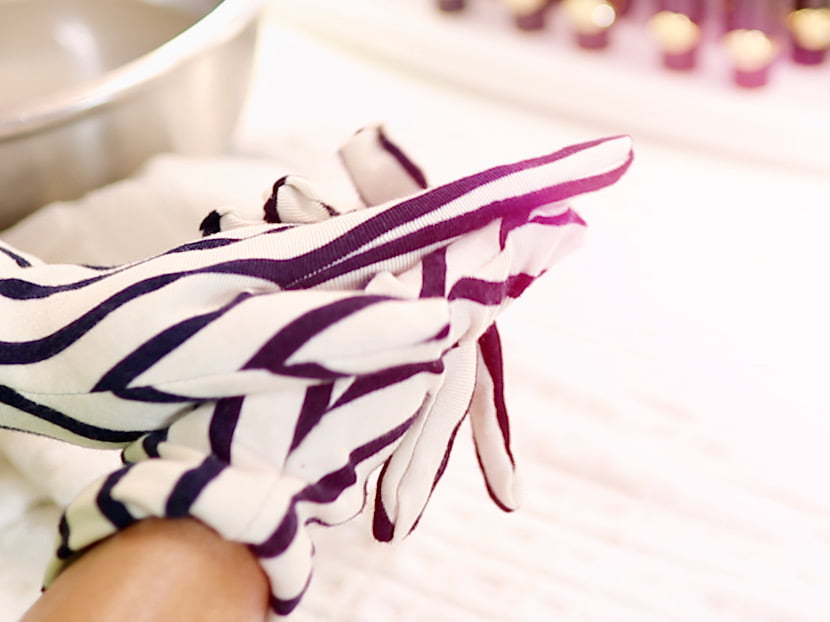
Now your gloves are ready to use for a nice self care day. Check out the video for visual instructions, if you haven’t already. Have fun with this diy. It is super simple and works so well.
Pair these gloves with a diy scrub and whipped coconut body butter for the ultimate treat for your hands or check out some other scrubs listed below.
Thanks for hanging out!
XO Terreana

